
GitHub is a web space where people with different perspectives work together on a single project. It is a cloud-based hosting service where developers share code, track changes, and collaborate on projects with others. GitHub is based on Git, a version control system that tracks changes to files and code. In addition, it offers features such as issue tracking and pull requests.
Since GitHub is a space where vital code is shared, additional security for user accounts is necessary. GitHub has introduced 2FA (two-factor authentication), requiring users to enter a passcode and password. This feature is currently in public beta, and users need to enroll in it to add an extra layer of security to their accounts. However, many people need help with how to enroll. In this guide, we will explain the process step-by-step.
Securing Your GitHub Journey: A Step-Step Guide to Enrolling in Two-Factor Authentication
Demystifying GitHub Two-Factor Authentication
Before enrolling in GitHub 2FA, it is essential to understand what 2FA is and how it works. When 2FA is enabled, you must enter a unique access code and your password. The best part about 2FA is that the extraordinary code changes frequently, making it difficult for hackers to gain access even if they have your password. 2FA provides enhanced security, protection against phishing attacks, and safeguards against data breaches.
Understanding the mechanics of GitHub 2FA
Now that you understand GitHub 2FA, let us dive into how this security layer works. When you enable GitHub 2FA, it generates a unique secret key that is linked to your account. This secret key generates a random code you must enter after inputting your password.
Enrolling in GitHub Two-Factor Authentication
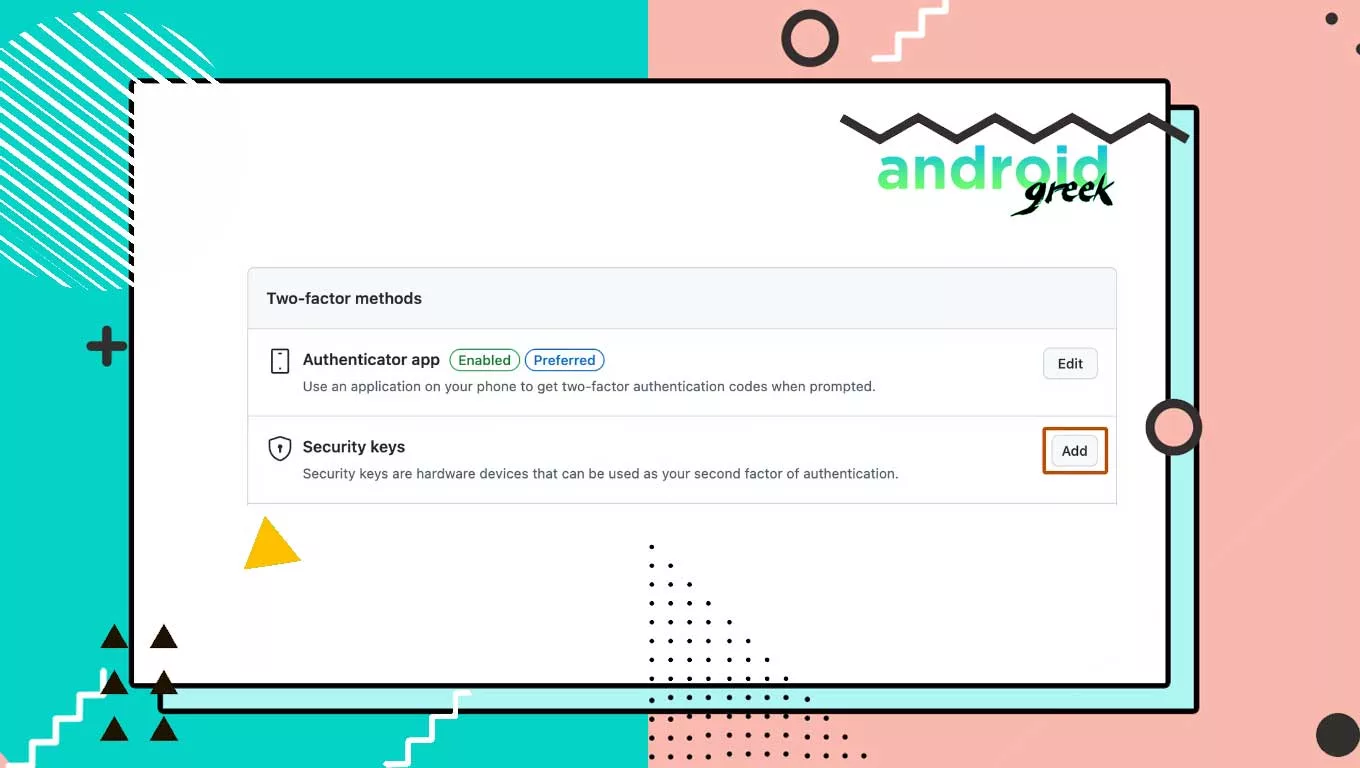
As mentioned, GitHub 2FA generates a secret key to produce a random code. GitHub offers two methods to generate these random codes: through the Authenticator App (such as Google Authenticator or Authy), SMS, or a security key (such as Yubikey). Below, we will guide you through the enrollment process using each method.
Through the Authenticator App
Note: Different Authenticator apps are available, but we recommend using Google Authenticator. Before proceeding, install the Google Authenticator app from the Google Play Store.
- Visit the GitHub website and log in to your account.
- Go to your profile and navigate to your account settings.
- In the sidebar, click on the security section.
- Under security, click on the two-factor authentication option.
- Select “Setup Two-factor Authentication” and choose the Authenticator app option.
- GitHub will display a QR code on the screen.
- Open the Google Authenticator App and scan the QR code displayed on GitHub.
- The Authenticator app will generate a unique code.
- Enter the unique code generated by the app.
- Finally, click on “Verify” to complete the 2FA setup process.
Through the phone and SMS
- On your device, head to the GitHub website and log in to your account.
- Then, navigate to your GitHub settings.
- From the sidebar, click on the security section.
- Next, click on the two-factor authentication option.
- Afterward, select “Setup Two-Factor Authentication” and choose SMS.
- Now, enter your registered phone number and click on verify.
- Afterward, enter the code received from GitHub through SMS.
- That is all! You have finished.
class="wp-block-heading">Through a security key
- Open your browser and visit the GitHub website.
- Then log in to your account and go to its settings.
- From the sidebar, click on the security section.
- Now click on the Two-Factor Authentication option, then choose “Setup Two-Factor Authentication” and select the security key.
- Insert or tap your security key according to the device instructions.
- After that, enter the code displayed on your security key.
- That is it; you are done.
Once you set up 2FA on your GitHub account, you must first enter your password whenever you need to log in. Further, verify your identity through the 2FA method you set up. If you chose the Authenticator app, then open the Authenticator app, get the random code, and enter that code on GitHub login. Proceed accordingly. Similarly, if you set up 2FA using SMS, follow the same process, but you receive that unique code here on your phone. Apart from that, if you set up 2FA through a security key, enter that key and log in.
Creating GitHub 2FA Recovery Codes: A Crucial Step for Account Security
Even though two-factor authentication is a great way to add an extra security layer, your phone may lose its security key. Noting that possibility, GitHub 2FA adds a provision for recovery codes. Here, along with setting up 2FA, users generate a recovery code so that in case of losing a phone or security key, they at least get access to their GitHub account and retrieve their lost access. We also recommend you add recovery codes, so follow the steps below.
- Open the GitHub website and log in to your account.
- Then, go to your GitHub settings.
- From the sidebar, select security>> Two-Factor Authentication.
- Click on the View button next to the recovery codes.
- Following this, recovery codes will be displayed on your screen.
- Copy those codes and keep them in a separate place.
- Next, click “I have saved my recovery code” and proceed.
- That is it! Whenever you lose your phone or security, use these recovery codes to log in.
Optimising Security: Best Practices for GitHub Two-Factor Authentication
This is not your first time using two-factor authentication on any web service. But GitHub is a professional place, and a typical user might hesitate. Also, some users might be new to this kind of security layer. Some users’ first experience with this feature might be unfair in that phase. So, along with explaining the enrollment process, we are sharing a few practices you should do for optimized security.
- Make sure to prefer the Authenticator method for login instead of other options.
- Do periodic reviews of your GitHub 2FA.
- Be cautious about sharing personal information.
- Consistently implement secure software practices.
- Ensure that you avoid password reuse.
Final Thoughts
To sum up, embracing GitHub’s two-factor authentication is pivotal for bolstering the security of your account. By enabling 2FA, users add an extra layer of protection, significantly reducing the risk of unauthorized access. I strongly encourage all users to proactively enable two-factor authentication to ensure a more robust and secure GitHub experience. Your commitment to account safety is a crucial contributor to the overall resilience of the GitHub community.
Frequently asked questions
Q1. Does GitHub require 2FA?
Ans. GitHub 2FA is gradually rolling out, but by 2023, it will be mandatory.
Q2. How do I recover my 2FA account from GitHub?
Ans. It would be best if you created recovery codes concerning the above instructions to recover.
Q3. Do you need to enable 2FA?
Ans. Enabling 2FA has multiple benefits, like enhanced privacy, getting away from phishing attacks, etc.
Q4. Can 2FA expire?
Ans. Being a randomly generated code, it expires in just 30–60 seconds.
