
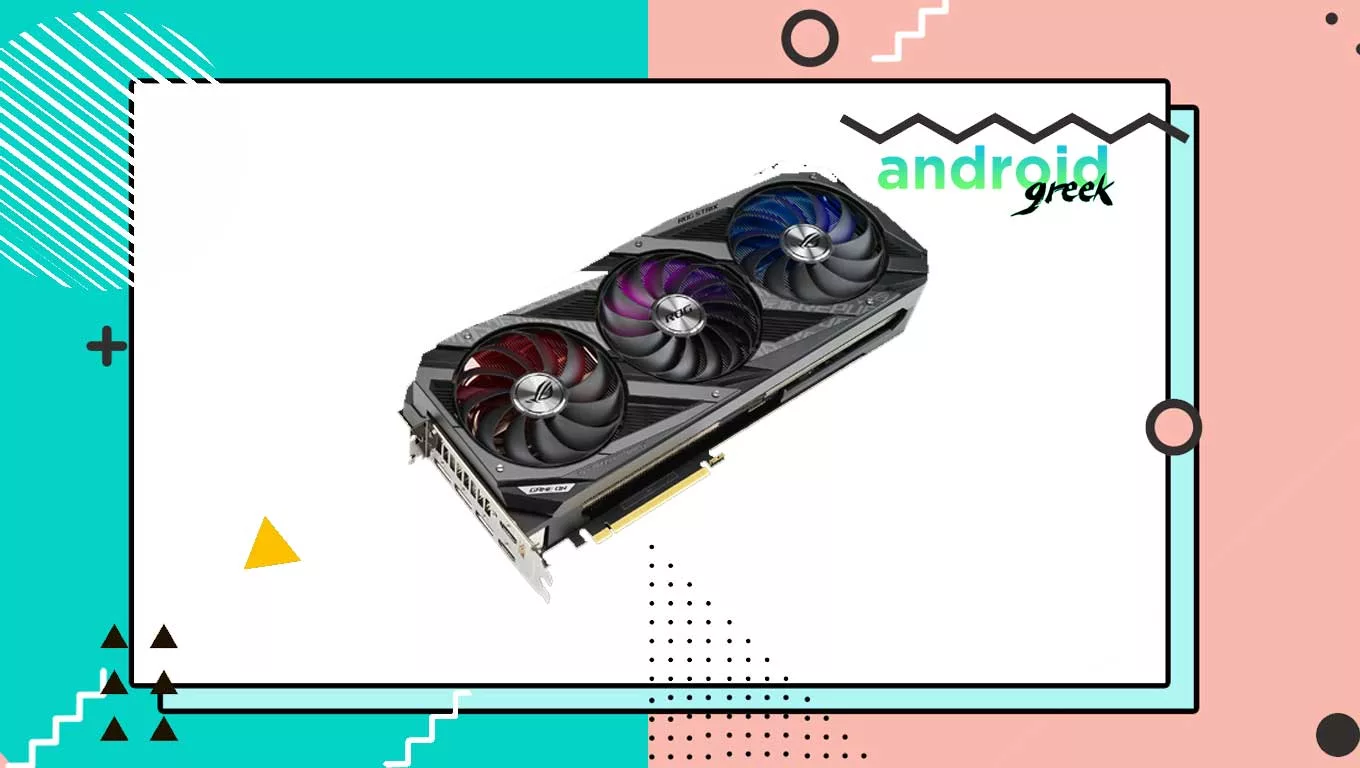
A graphics card is an expansion card that is used to generate output images to a display device, such as a computer monitor or projector. It processes the image data and sends it to the display device. The graphics card is responsible for producing the images that you see on your screen. In this Guide We are Going to Share “How to Install Graphics Card (GPU) in Your PC Step by Steps”
Before installing a GPU, remember these things
Before installing a GPU in your PC, there are a few things to keep in mind to ensure a successful installation:
- Compatibility: Make sure that the GPU you choose is compatible with your computer’s motherboard and power supply. Check the motherboard’s manual to see which types of PCIe slots are available, and ensure that the GPU you choose fits in the available slot. Also, check the power supply’s wattage and available connectors to ensure it can handle the GPU’s power requirements.
- Size: Check the dimensions of the GPU and ensure that it fits in your computer case. Some GPUs can be quite large, so make sure there is enough clearance in the case.
- Cooling: Make sure that your computer has adequate cooling to prevent the GPU from overheating. Some high-performance GPUs require additional cooling, such as liquid cooling or additional case fans.
- Drivers: Download the latest drivers for the GPU from the manufacturer’s website before installing the GPU. This ensures that you have the most up-to-date drivers and that the GPU will work properly.
- ESD precautions: When handling the GPU, make sure to ground yourself to prevent electrostatic discharge (ESD), which can damage the GPU. You can do this by touching a grounded metal object, such as the computer case.
By keeping these things in mind, you can ensure a successful GPU installation and enjoy improved performance in gaming and video playback.
How to Install Graphics Card (GPU)
Installing a graphics card (GPU) in your PC can improve your computer’s gaming and video playback performance. Here are the steps to install a graphics card in your PC:
- Turn off your computer and unplug it from the power outlet.
- Open the computer case by removing the screws or pressing the release latch on the side panel.
- Locate an available PCI Express slot on the motherboard. This slot is usually located near the rear of the computer case.
- Remove the metal cover plate from the PCI Express slot by pressing down on the tab or unscrewing the retaining screw.
- Align the graphics card’s gold contacts with the PCI Express slot and gently push the card down into the slot until it clicks into place. Make sure the card is seated firmly in the slot.
- Secure the graphics card to the computer case using the screws provided with the card.
- Connect the power supply to the graphics card. Some graphics cards require additional power and will have a six-pin or eight-pin power connector on the side of the card.
- Connect the monitor cable to the graphics card’s video output port.
- Close the computer case and plug the computer back into the power outlet.
- Turn on your computer and install the drivers for the graphics card. You can usually download the drivers from the manufacturer’s website or install them from the CD that came with the graphics card.
- Restart your computer and configure the graphics card settings in your operating system or game settings to get the best performance.
That’s it! Your graphics card is now installed and ready to use.
