
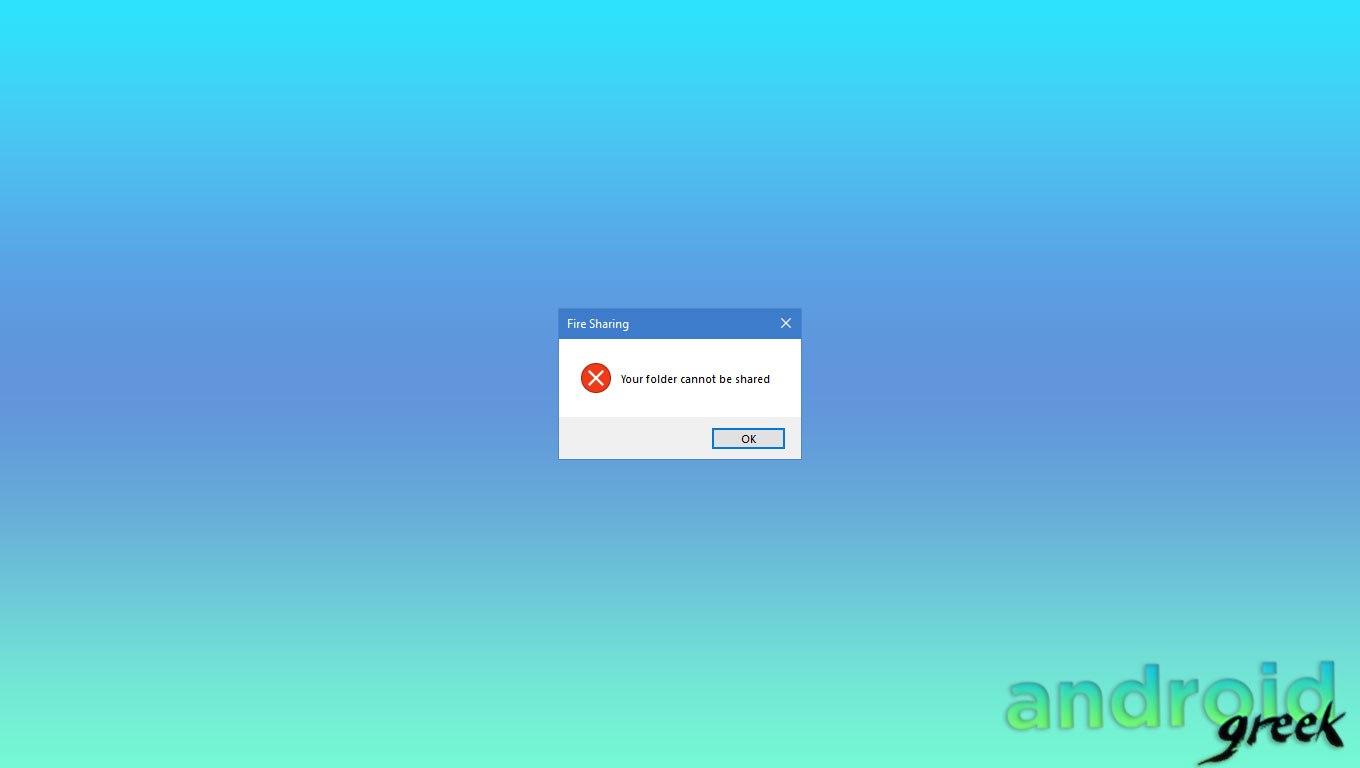
Quite possibly the most pervasive issue that the two Windows 11 and 10 clients have announced has the “Your envelope can’t be shared” mistake. Certain individuals think that it is aggravating, particularly when they are accustomed to sharing information basically and it has abruptly turned into an issue because of the blunder message shown. However, on the off chance that you’ve been shipped off this page looking for an answer for the issue, go ahead and attempt the offered choices.
The methods recorded underneath were gathered from different Windows clients who had effectively deleted the mistake message and shared the envelope. We trust that one of these arrangements might be of help to you also.
Method 1: Restart Windows PC.
Whenever you can’t share an organizer, take a stab at restarting your PC. This will typically determine most issues and will likewise assist your PC with performing all the more easily. A basic restart can likewise mitigate your PC’s crucial issues.
- Press the Start button on your Windows PC.
- Pick the Power button found in the left menu.
- Hang tight for a couple of moments and when the PC is turned on, attempt to check if the envelope can now shared.
Method 2: Activate File and Printer Sharing.
Initiating File and Printer Sharing has demonstrated to be one of the most proficient answers for a few clients who were managing envelopes that couldn’t be partaken in Windows. Moreover, To empower record sharing on your Windows machine, adhere to the directions given.
- Press the Start button.
- Enter the word Control Panel and select.
- Select Network and Internet next.
- Click Network and Sharing Center on the right sheet.
- Then, at that point, select Change progressed sharing settings found on the left board.
- Extend the Guest or Public segment and snap the radio button to empower the choice “Turn on document and printer sharing”.
Method 3: Utilize the Advanced File-Sharing Settings in Windows.
Assuming the above ideas have neglected to fix the failure to share documents issue yet, utilizing the Advanced Sharing choices ought to be one of the following techniques you ought to attempt. Also, this technique which known to be the arrangement that has worked for a few Windows clients permits you to change the authorization to give full admittance to all clients in a similar organization. Allude to the point by point directions spread out underneath on the most proficient method to get it done.
- Find the envelope you need to share.
- Right-click and select Properties from the choices.
- In the Properties window, go to the Sharing tab.
- Click Advanced Sharing Settings under the Sharing tab.
- In the Advanced Sharing Settings window, put a mark of approval on the container named Share this envelope.
- Then select Permissions next.
- Under the Allow segment, mark the case close to Full Control to allow anybody you wish to share significant records in the organizer.
- Click OK to save the changes.
After you’ve played out the means above, you ought to have the option to impart the organizer to anybody in your nearby organization. Moreover, assuming you’re using the Password Protection highlight on your Windows PC, you’ll have to do these additional means.
- Click the Add button in the Share Permissions window.
- Select the Advanced button.
- Select Find now.
- Pick Authenticated clients.
- Click OK.
- Check the Full Control box.
- Select Apply.
- Select OK.
Method 4: Temporarily switch off the outsider Antivirus program introduced.
There are times when an outsider antivirus application introduced on the PC is the essential driver of the “Your envelope can’t be shared” issue. Also, impair your antivirus program for the time being to share the organizer in your neighbourhood network effectively.
Method 5: Disable the Password Protected Sharing component in Windows.
If impairing your antivirus programming doesn’t work, take a stab at crippling your PC’s secret key got sharing. Remember that this technique is perilous because it permits unapproved clients to get to the envelope, yet it takes care of the issue of sharing the organizer.
- Press the Start button.
- Enter the word Control Panel and select.
- Pick Network and Internet.
- Then select Network and Sharing Center straightaway.
- Click Change progressed sharing settings.
- Grow the All Networks segment.
- Find the Password Protected Sharing segment.
- Check the case alongside Turn off Password Protected Sharing.
- Click Save changes a short time later.
- Check if the message “Your envelope can’t shared” has dispensed with now that the Password Protected Sharing component has debilitated.
Method 6: Remove and reinstall Windows adaptation.
Reinstall the Windows 10 or 11 adaptation on your PC to fix the blunder message “Your envelope can’t shared”. We suggest this arrangement if all else fails if none of the identified ideas permits you to share the envelope in your nearby organization.
