
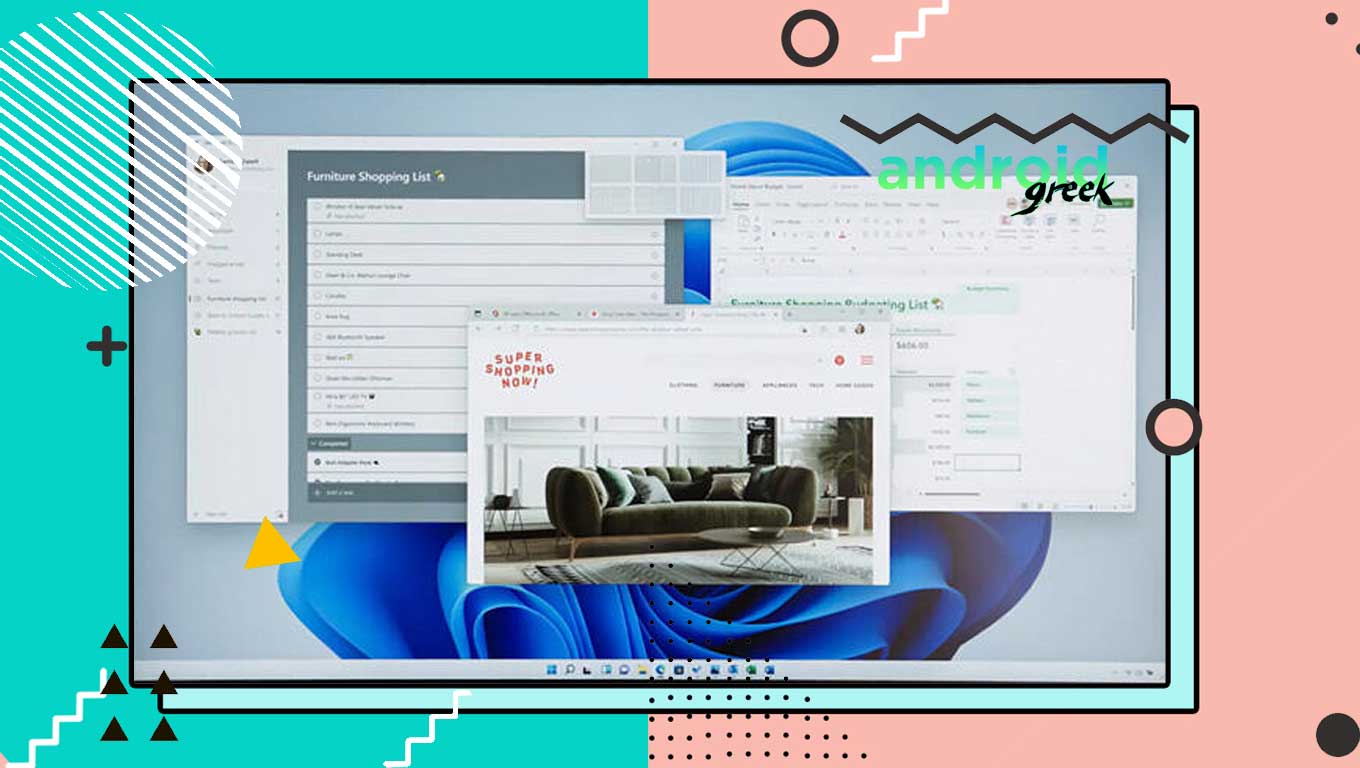
Microsoft Windows 11 has become one of the hottest topics among people, where Windows 11 brought a visual overhaul and one of the highlights of it was Snap Layout. To boost productivity it is the essential tool to have, where you can split your desktop into multiple app layouts accordingly.
Previously, users used a third-party program to use split-screen but the in-build tool made this flawless. So today, in this article, we will be sharing a complete guide to enable Snap Layout on Windows 11, follow the following instructions step-by-step:
How to enable Windows 11 Snap Layout
Generally, it does come to be enabled by default but it might be someone who can’t be enabled so you have to manually enable it on your PC. Check it out.
- Open Windows 11 Settings and then go to the System tab from the left navigation panel.
- After that, click on multitasking and then choose Snap Windows.
- Toggle the menu to enable, also check the Checkbox for ‘Show snap Layout to hover over a window’s Maximize button. ‘
- That’s it!
This is how you can enable Snap Layout on your PC, however, it is currently in beta so you might encounter trouble with a certain window. After enabling the Snap Layout, check out the up-to-next guide to perform on your device.
How to use Snap Layout on Windows 11
After enabling this functionality, you can use it on your app windows, without further ado let’s check it out.
- Choose any app windows to use Snap
- Hover your mouse over the Maximum Window button, which appears in the upper-right corner. (Note; use Window + Z as a shortcut)
- Choose the app windows you want to snap.
- That’s it!
Noteworthy: There are a lot of software/program/application which doesn’t support this functionality even after Windows 11. Because third-party app services use custom layout-ribbon, only Windows App bars do support it as of now.
We believe this article remains helpful for you and have successfully been able to use the windows snap tool on your device. If there is any query share it with us in the comments section down below. Stay tuned for further updates in the future on the same.
